3 Hair Trends You Can Recreate
With celebrity hair stylist Kylee Heath
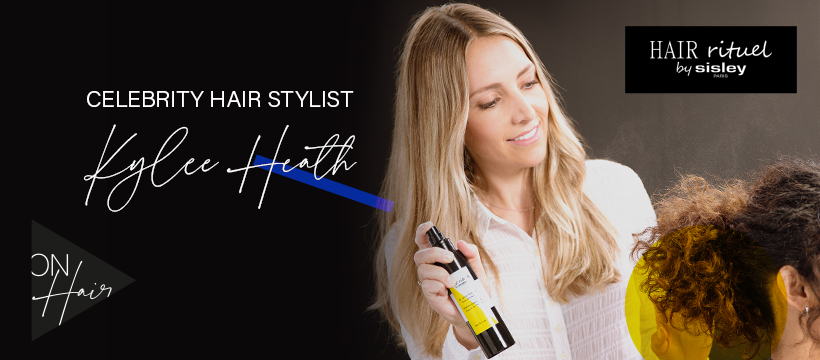
About Kylee Heath
With her laid back Northern California aesthetic, Kylee Heath is a master at creating hairstyles that exude a modern and effortless glamour. From an early age, Kylee had a passion for hairstyling, which led her to the Paul Mitchell School to hone her skills. Her talent was quickly recognized as she was selected as the on stage assistant instructor for Paul Mitchell Events. By working for some of the most renowned stylists in the industry, she developed her signature techniques that provide her clients with styles that flatter their face shape while also highlighting their personal style.
Her client roster includes a bevy of Hollywood A- listers such as Nicole Kidman, Carey Mulligan, Daisy Edgar Jones, Laura Dern and Awkwafina who entrust their tresses in her capable hands. Here, Kylee shares her favorite tools of the trade and shows us how to rock the three chicest Instagram worthy styles that you can create at home with some easy-to-follow steps.
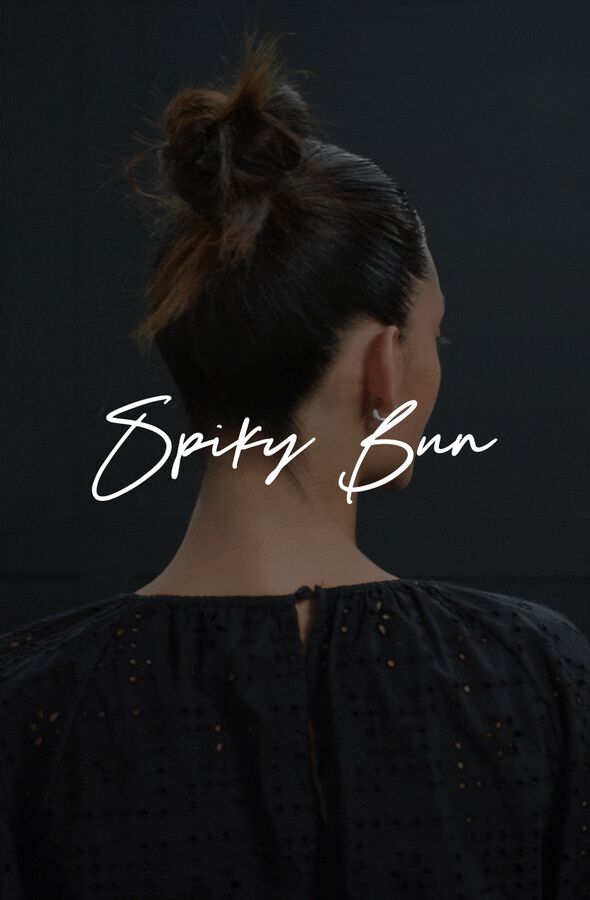
Trend 1
One of Kylee’s personal favorites is the effortless Spiky 90s Bun that is best suited for people with shoulder length hair that can be straight or wavy. This flattering and versatile look was rocked by her client Katie Kelly and can be worn super sleek and polished or slightly undone with some bits left down in the front.
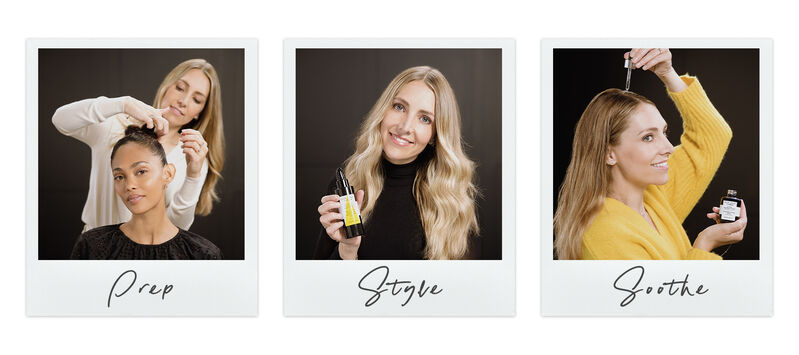
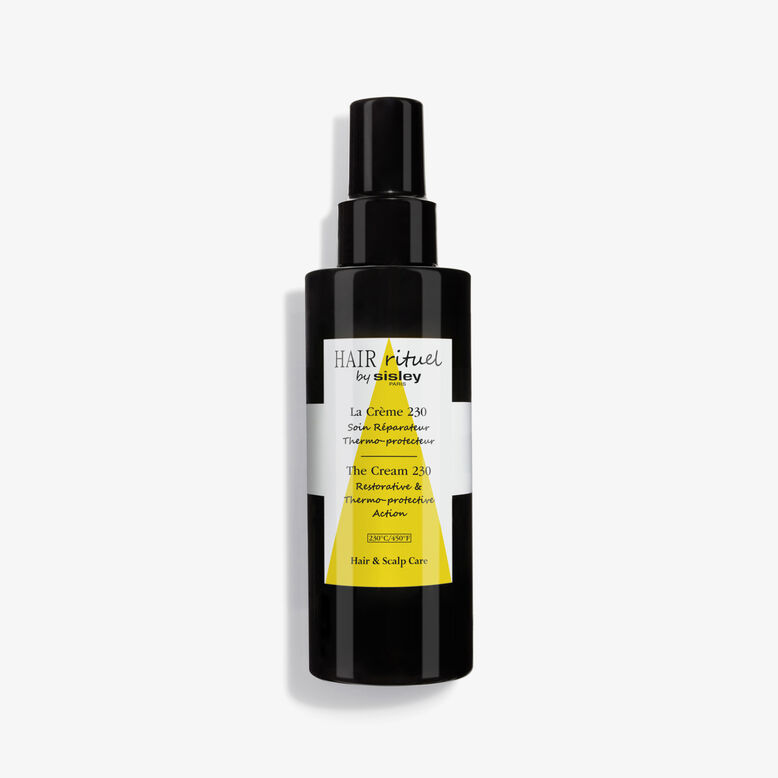
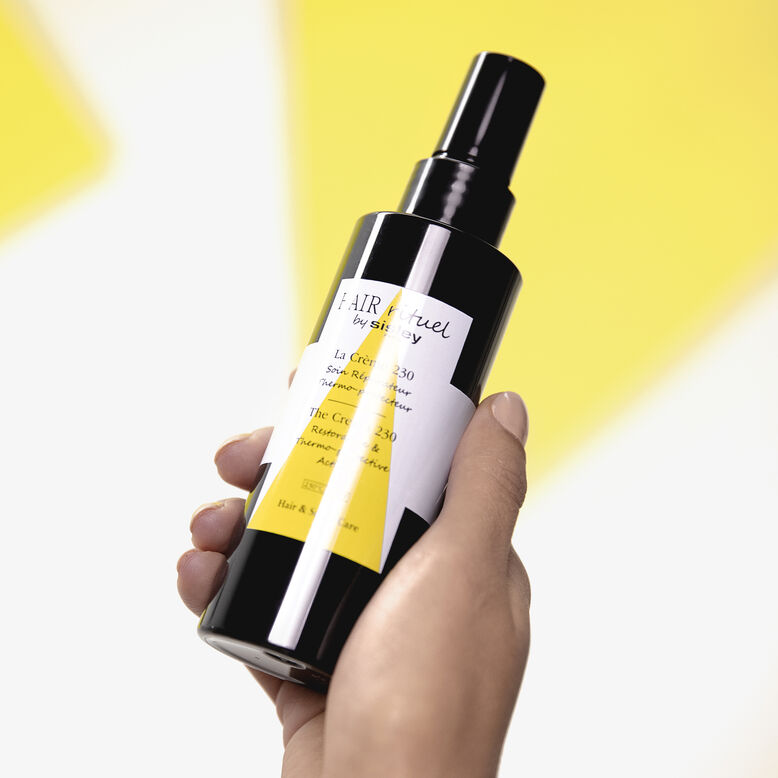
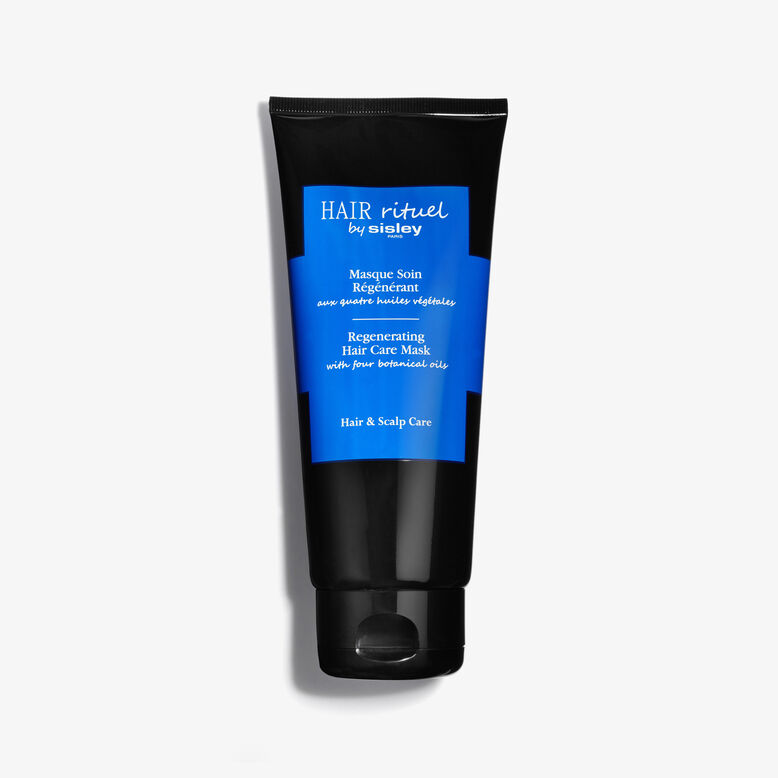
Kylee first preps hair with The Cream 230 which will protect the hair from the heat before you make it silky smooth. She finishes the style with Precious Hair Care Oil to make the look shiny and sleek!
How to Achieve It
Prep & Blow Dry
First apply The Cream 230 and blow dry the hair smooth. *If you want it extra “spiky”, you can also flat iron the ends of your hair.*
Section
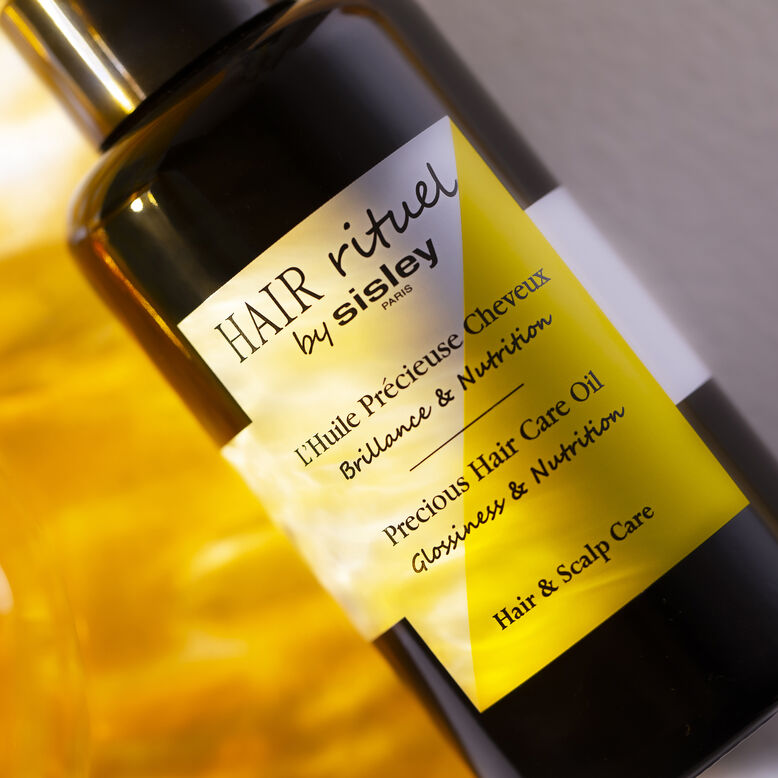
Section the front of your hair (from ears to hairline) and pump a healthy amount of the Precious Hair Care Oil into your hands. Then rub them together and pull the back section of your hair up into a high ponytail.
Pull Hair Back
Leave what pieces you want to stay down in the front (or if you want it all slicked back, don't leave anything down) and pull the front section back to join the ponytail.
Secure
Tie the ponytail into a knot and slide some pins in to secure it. If you have short hair, one knot should be enough. If you have longer hair, the loose ends will be long, so you will want to tie the hair into another knot or two, leaving about 1-2 inches of your ends out for some detail. Pin those knots in place.
Kylee’s Insider Tip: Wherever your fingers are holding the bun/ knots, that’s where you will need to slide in a pin or 2!
Add Shine
To finish the look, add a little more of the Precious Hair Care Oil to the ends of the hair and sides for additional shine.
SHOP THE LOOK

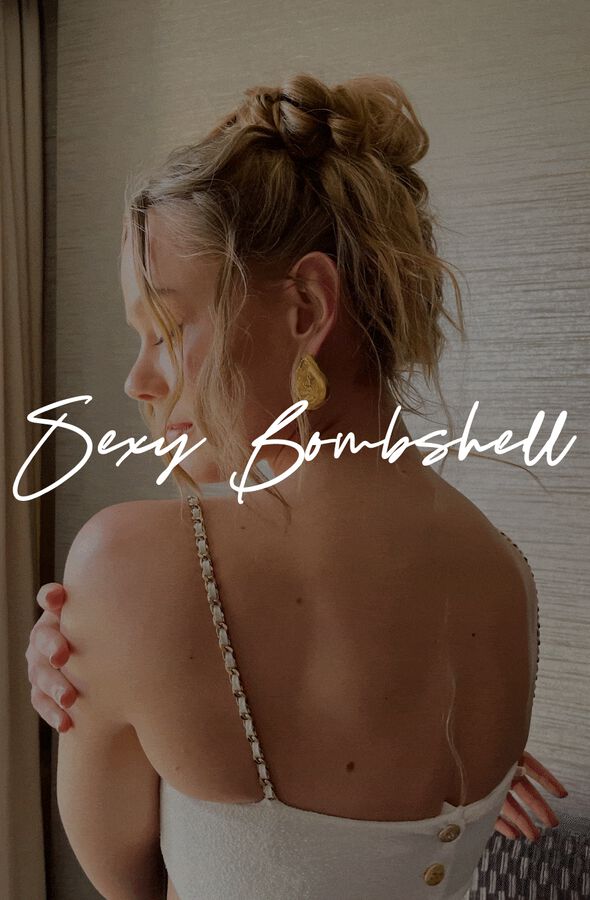
Trend 2
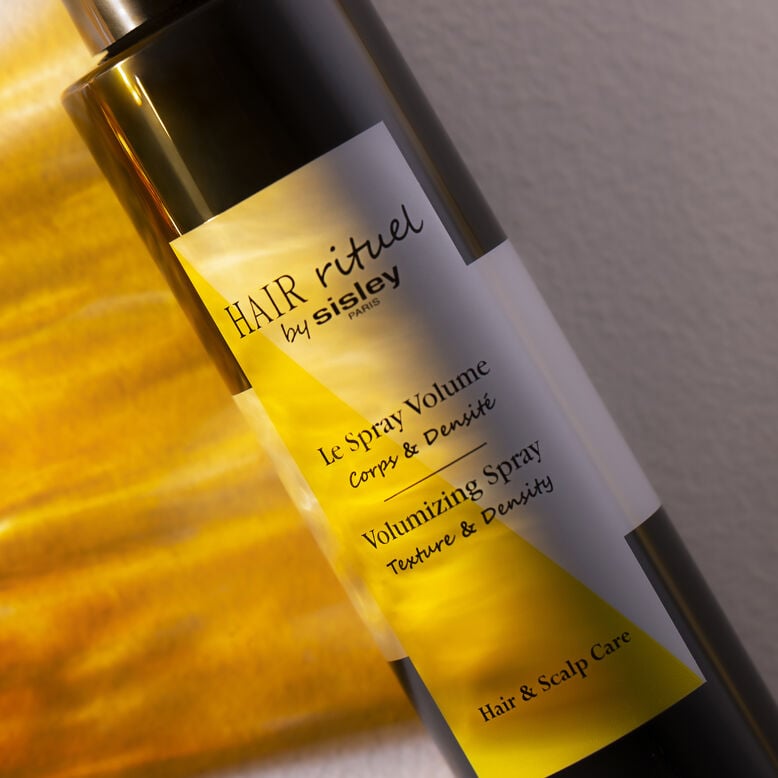
For medium to longer lengths, Kylee recommends the Sexy Bombshell look that she styled on Freida Gustavsson. This is a flattering look for all ages and textures, especially styles with bangs. However, if you have tight curls, it is recommended to smooth and straighten your hair first. Be sure to use The Cream 230 to prep the hair & Volumizing Spray to lock in the big curls and volume.
For curly and wavy hair, first blow-dry it using The Cream 230 and a generous amount of Volumizing Spray. This style can last through the next day!
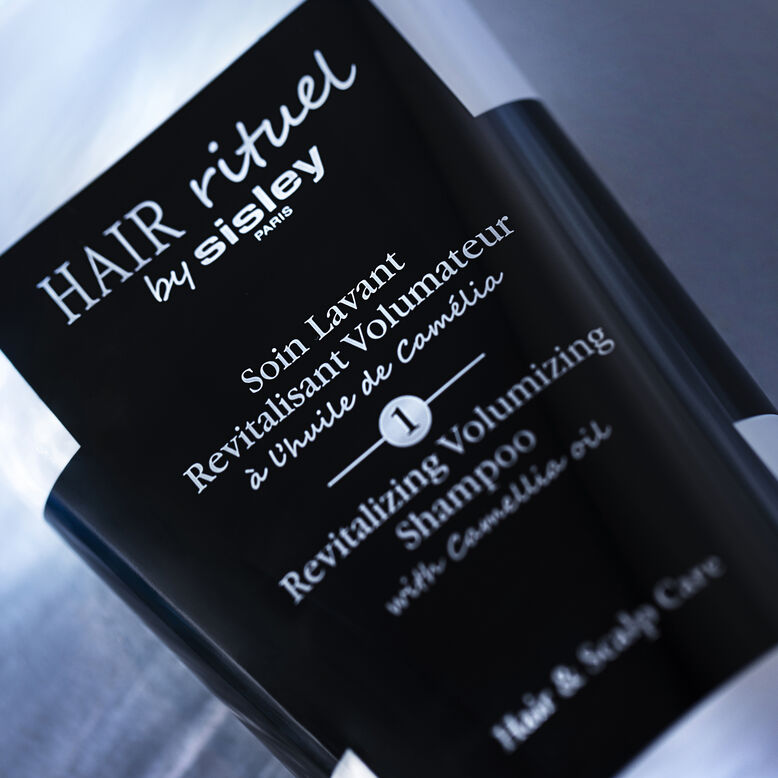
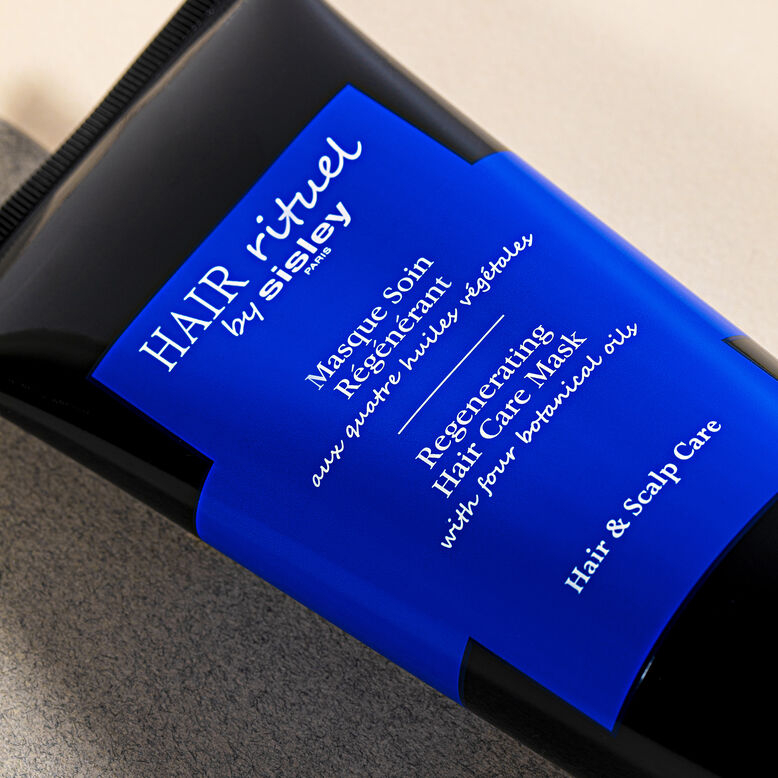
For straight hair, before styling, add some volume and texture with the Volumizing Shampoo and condition with the Regenerating Hair Care Mask. Apply The Cream 230 throughout once hair is clean and towel dried and then spray a generous amount of Volumizing Spray. Rough-dry your hair and then you are ready to style.
How to Achieve It
Tease
Tease the hair at the crown and then lightly comb the hair back to smooth out just the top layer over where it has been teased.
Section
Start by sectioning away the front (from the ear to the hairline). Then, tease the back of the hair starting at the bottom hairline and working your way up.
Kylee’s Insider Tip: It is key to add volume and to leave some strands out in the front.
Pull Hair Back
Next, pull the back up towards the top of the head while twisting it slightly and then take long bobby pins and slide them in to hold the hair in place. *If your hair is really long, you will want to tie the loose ends into a knot and pin that into place. This hairstyle looks pretty when some loose ends are left out and tousled.
Pull Out Loose Strands
Then, piece out the bits you want to leave out and down and start to pull the front back to meet the back “bun.” Pull the bits back in 1-inch sections at a time.
Mess It Up
Once the hair that you want up is all back and pinned using your fingers, break it up a bit. Pull some sections to be looser.
Kylee’s Insider Tip: For a finished look, add more Volumizing Spray.
SHOP THE LOOK


Trend 3
A sweet and sexy look is the Baby Braids trend that can be rocked from the city to the beach and is suitable for all hair textures and types, but best on shoulder length or longer hair. Start with the Radiance Paddle Brush to comb and separate your hair. To add some shine, dab the Precious Hair Care Oil to the braid & finish with Volumizing Spray to keep the strays at bay while adding texture.

How to Achieve It
Prep
First prep your hair the way you wear it down - it can be embracing your natural texture or heat styled.
Section
Next, decide where you want the placement of your braids to be. Then, use the Radiance Paddle Brush to brush out the section you want to braid and apply a little Precious Hair Care Oil to that section for a nice shiny braid.
Braid
As you braid the section, you should start to see the ends of your hair begin to braid themselves at the same time.
Kylee’s Insider Tip: Usually we detangle the ends while we braid the hair - but for these you don’t have to!
Secure Braids
Once your braid meets the ends that are getting entangled, simply loop the bottom section through the open “hole” and allow the braid to seal itself without using any elastics.
Repeat Braiding Technique
Feel free to repeat these steps 3-5 times around the head. *Braids can all vary in size too!
Add Texture & Volume
Finish this look by spraying the Volumizing Spray for added texture.

